Recessed lighting offers almost a whole world of benefits (chief among them energy-efficiency and a lack of room-hogging), but working with it can be risky. And when it’s 6-inch recessed lighting, you have to choose the best saw to use. That’s where the trouble starts, since you have got a few powerful saws to decide between!
Here we will give you a breakdown of what recessed lighting is, how using a saw for installing recessed lighting works, and tips for picking the right saw!
Before getting started, make sure you have the right tools and materials on hand:
Tools:
- Hole saw
- Jig saw
- Rotary tool
- Drill
- Stud finder
- Voltage tester
- Measuring tape
- Pencil
Materials:
- 6-inch recessed light fixture
- Drywall or plaster (for patching if needed)
What Is Recessed Lighting?

Before we get too into it, we will start with a breakdown of what recessed lighting is and how you can compare it to other kinds of lighting.
Recessed lights are simple in principle. They are just a type of light that is installed right into a wall or ceiling (this sets them apart from a ceiling fan light or pendant, for example, which both involve the fixture hanging from the ceiling or wall.)
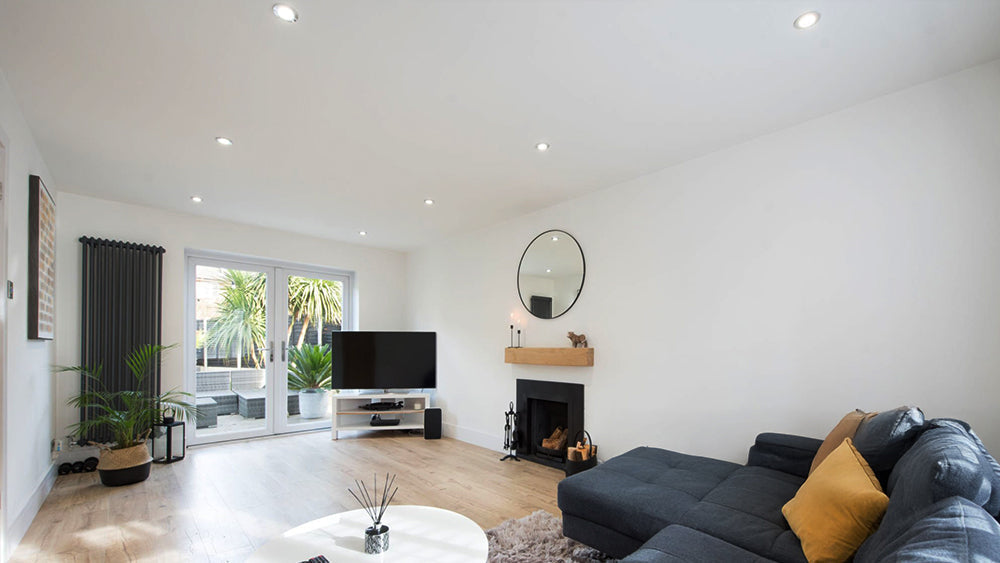
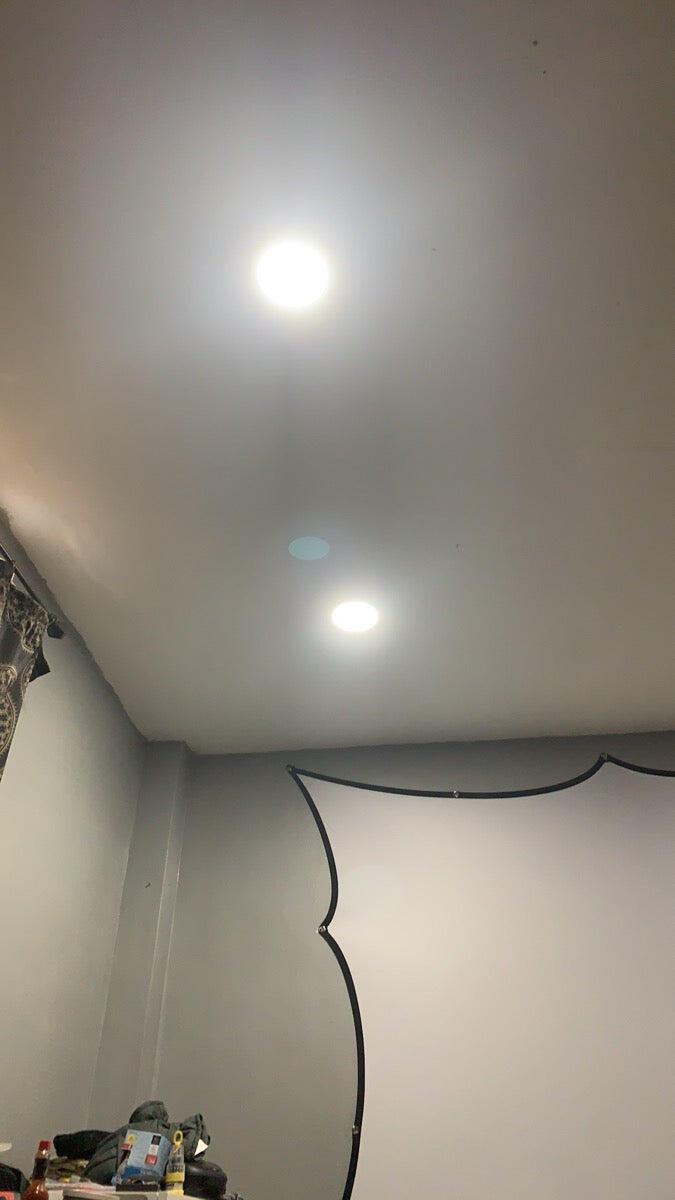
A 6” recessed light is the same light, with the only stipulation that they are 6 inches (or maybe a bit more) in diameter. A large diameter and beam make 6” recessed lights a better fit to illuminate an entire room as opposed to, say, 4” recessed lights for task lighting.
Why Is Choosing the Right Saw Important for Recessed Lighting?

Using the right, most precise and dynamic saw when you install a recessed light is super critical. If you end up picking a saw that is an overall bad fit for the project, you risk damaging your ceiling or even injuring yourself.
This boils down to precision. The correct saw for a 6-inch recessed light will give you a degree of accuracy and smooth cutting that you just can’t get from other saws. Not only will you get clean cuts, but you’ll also be much less likely to slip while cutting (a downright hazardous possibility!)
Best Saws for Cutting Holes for Recessed Lighting
The best saw for installing a recessed light ultimately comes down to the type of recessed lighting you are working with, but in most cases you are going to want either a jig saw, a hole saw, or a rotary tool.
These are the three tools that give you the best chance of an accurate, clean cut while keeping the chances of injury or damage to a minimum.
|
Saw Type |
Best For |
Ease of Use |
Precision |
Speed |
Versatility |
|
Jig Saw |
Cutting various materials (drywall, wood, plaster) |
Easy |
Moderate |
Fast |
High (can cut different shapes) |
|
Hole Saw |
Creating perfect circular holes for recessed lights |
Very Easy |
High |
Very Fast |
Low (only cuts specific hole sizes) |
|
Rotary Tool |
Small, controlled cuts in tight spaces |
Moderate |
Low |
Slow |
Moderate (works on various materials) |
1. Jig Saw

A jig saw has a couple main advantages for installing recessed lighting that are worth noting.
First, jig saws are powerful and adaptable tools that can be used to cut all sorts of materials, from drywall to plaster to wood. Most people also find jig saws quite easy to use, with fluid and natural motions.
On the other hand, a jig saw won’t give you the level of precision that you’d get from a hole saw. Since installing a recessed light calls for an exactly measured circle in your ceiling or wall, the uneven and rough cuts that often happen with jig saws will be a huge headache down the road.
2. Hole Saw

Hole saws are usually ranked as the best saw choice for installing recessed lighting, and there are good reasons why! Since installing recessed lighting requires cutting a precise, clean hole in your ceiling or wall, the smooth and disk-shaped cuts of a hole saw do the trick quite nicely.
Like jig saws, hole saws are also quite easy to use and cut through, so the chances of hurting yourself or cutting crooked are extremely low.
Because of their accurate and round holes, hole saws are typically the first choice for installing a recessed light, whether that is a 6-inch light or a 4-inch recessed light.
3. Rotary Tool

Though not as common of a choice as a jig saw or a hole saw, rotary tools can give you some real advantages when you’re cutting a hole for a recessed light. Most notably, these tools are super compact and easy to move around. This makes them an appealing choice for homeowners who are installing a recessed light for the first time.
There are some big drawbacks, though. Rotary tools are quite slow to work with so using one can drag out installation time. And, to make matters worse, a rotary tool’s cut will usually have some rougher edges. Not ideal if you want a smooth, seamless fixture!
How to Use the Saw for Recessed Lighting Installation?
Before you can install a recessed light with your saw, you will have to prepare.
Before cutting, you should measure and draw the outline for the light opening, use a stud finder to avoid damage to the ceiling structure, and drill a small ¼ inch hole right in the middle of the drawn opening. That small hole is going to guide the bigger cut when you bring out your hole saw.
From there, it’s a straightforward matter of attaching the right saw to your drill and, for hole saws, carefully cutting around the smaller hole you drilled earlier. For a jig saw or a rotary tool, you’ll instead cut along the drawn line you measured.
Safety Precautions When Using Saws for Recessed Lighting
Just like any time you use power tools, you should always take safety precautions beforehand when you install a recessed light. It is critical to turn the power off for your circuit before you start the installation process. You do not want to risk an electric shock, after all!
This is a three-step process. At the start, you will want to turn off any wall switches in the room where you are installing your recessed light. After that, cut off the power to the entire room by using your home’s fuse or breaker box.
Lastly, use a voltage tester so you can make certain that there is no flowing electricity through the ceiling or wall wires.
Conclusion
Though there’s no rulebook or exact science to installing a 6” recessed light, most of the time you’re going to want to use a hole saw for the task (though jig saws and rotary tools are also common alternatives.) Hole saws simply give you the best mix of precision, cleanliness, and ease of use.
More information on recessed lighting choices and installation can be found at ComiLED, which offers a great range of picks. Recessed lighting has massive advantages and installing it is almost always a smart choice for your home!
FAQ
1. Can I use a jig saw for 6-inch recessed lighting?
Yes, but it may not provide the same level of precision as a hole saw.
2. What size hole saw do I need for 6-inch recessed lights?
A 6-inch hole saw is ideal for 6-inch recessed lights.
3. Is it safe to install recessed lighting myself?
Yes, as long as you follow safety precautions, such as turning off the power and using a voltage tester.

Share:
How to Wire a Ceiling Fan with Light?
How to Change a Lightbulb in a Recessed Light?